
Building a budget-friendly photo studio
Building a studio?
Studio photography is a great portion of the photography world. For me, it’s the place I have the most control for world-building and storytelling. Additionally, it is a killer place to learn the relationship between all of your gear components. The process cost can range from a couple hundred dollars to tens of thousands to do a complete build. In this article, I’ll be parting sharing twoplug-and-playy options for building a studio for under $600. This article will not be a deep dive into specs or comparisons between different brands; it will be a quick and dirty guide to get you started with a solid base for a studio. From this base you’ll be able to swap out parts if you want or just leave it as is. Additionally, I want to give a big thank you to Robert Kern at B&H, as well as their Pro Photo team for being a part of the research.
LIGHTING
Let’s start with lighting. As a disclaimer, I’ll be focusing on two complete lighting kits as this is mainly about getting a start to build a studio.
When deciding what direction you want to go with lighting, I recommend going over what you want to photograph, and from there choosing the best choice to complete that goal. Best practices and guides for a wide range of situations, but ultimately I feel it’s more important to find what works for you. For example, when I shoot clothing I use strobes; when I shoot staged food scenes I use continues, and sometimes introduce a strobe for contrast. When I shoot models I switch between strobes and continuous. Another factor to consider is price difference. A strobe build will most cost more due to more needed components. Depending on what your budget focus is, this can be a moot point or a deciding factor. There is no right or wrong answer for building your studio - it’s yours after all. If you are more focused on the building out of backdrops, surfaces and other assets not pertaining to lights, it may be best to go with a continuous lighting set up to start. If that’s you, feel free to skip down to the miscellaneous building section! If your priority is lighting, read on.
Strobe
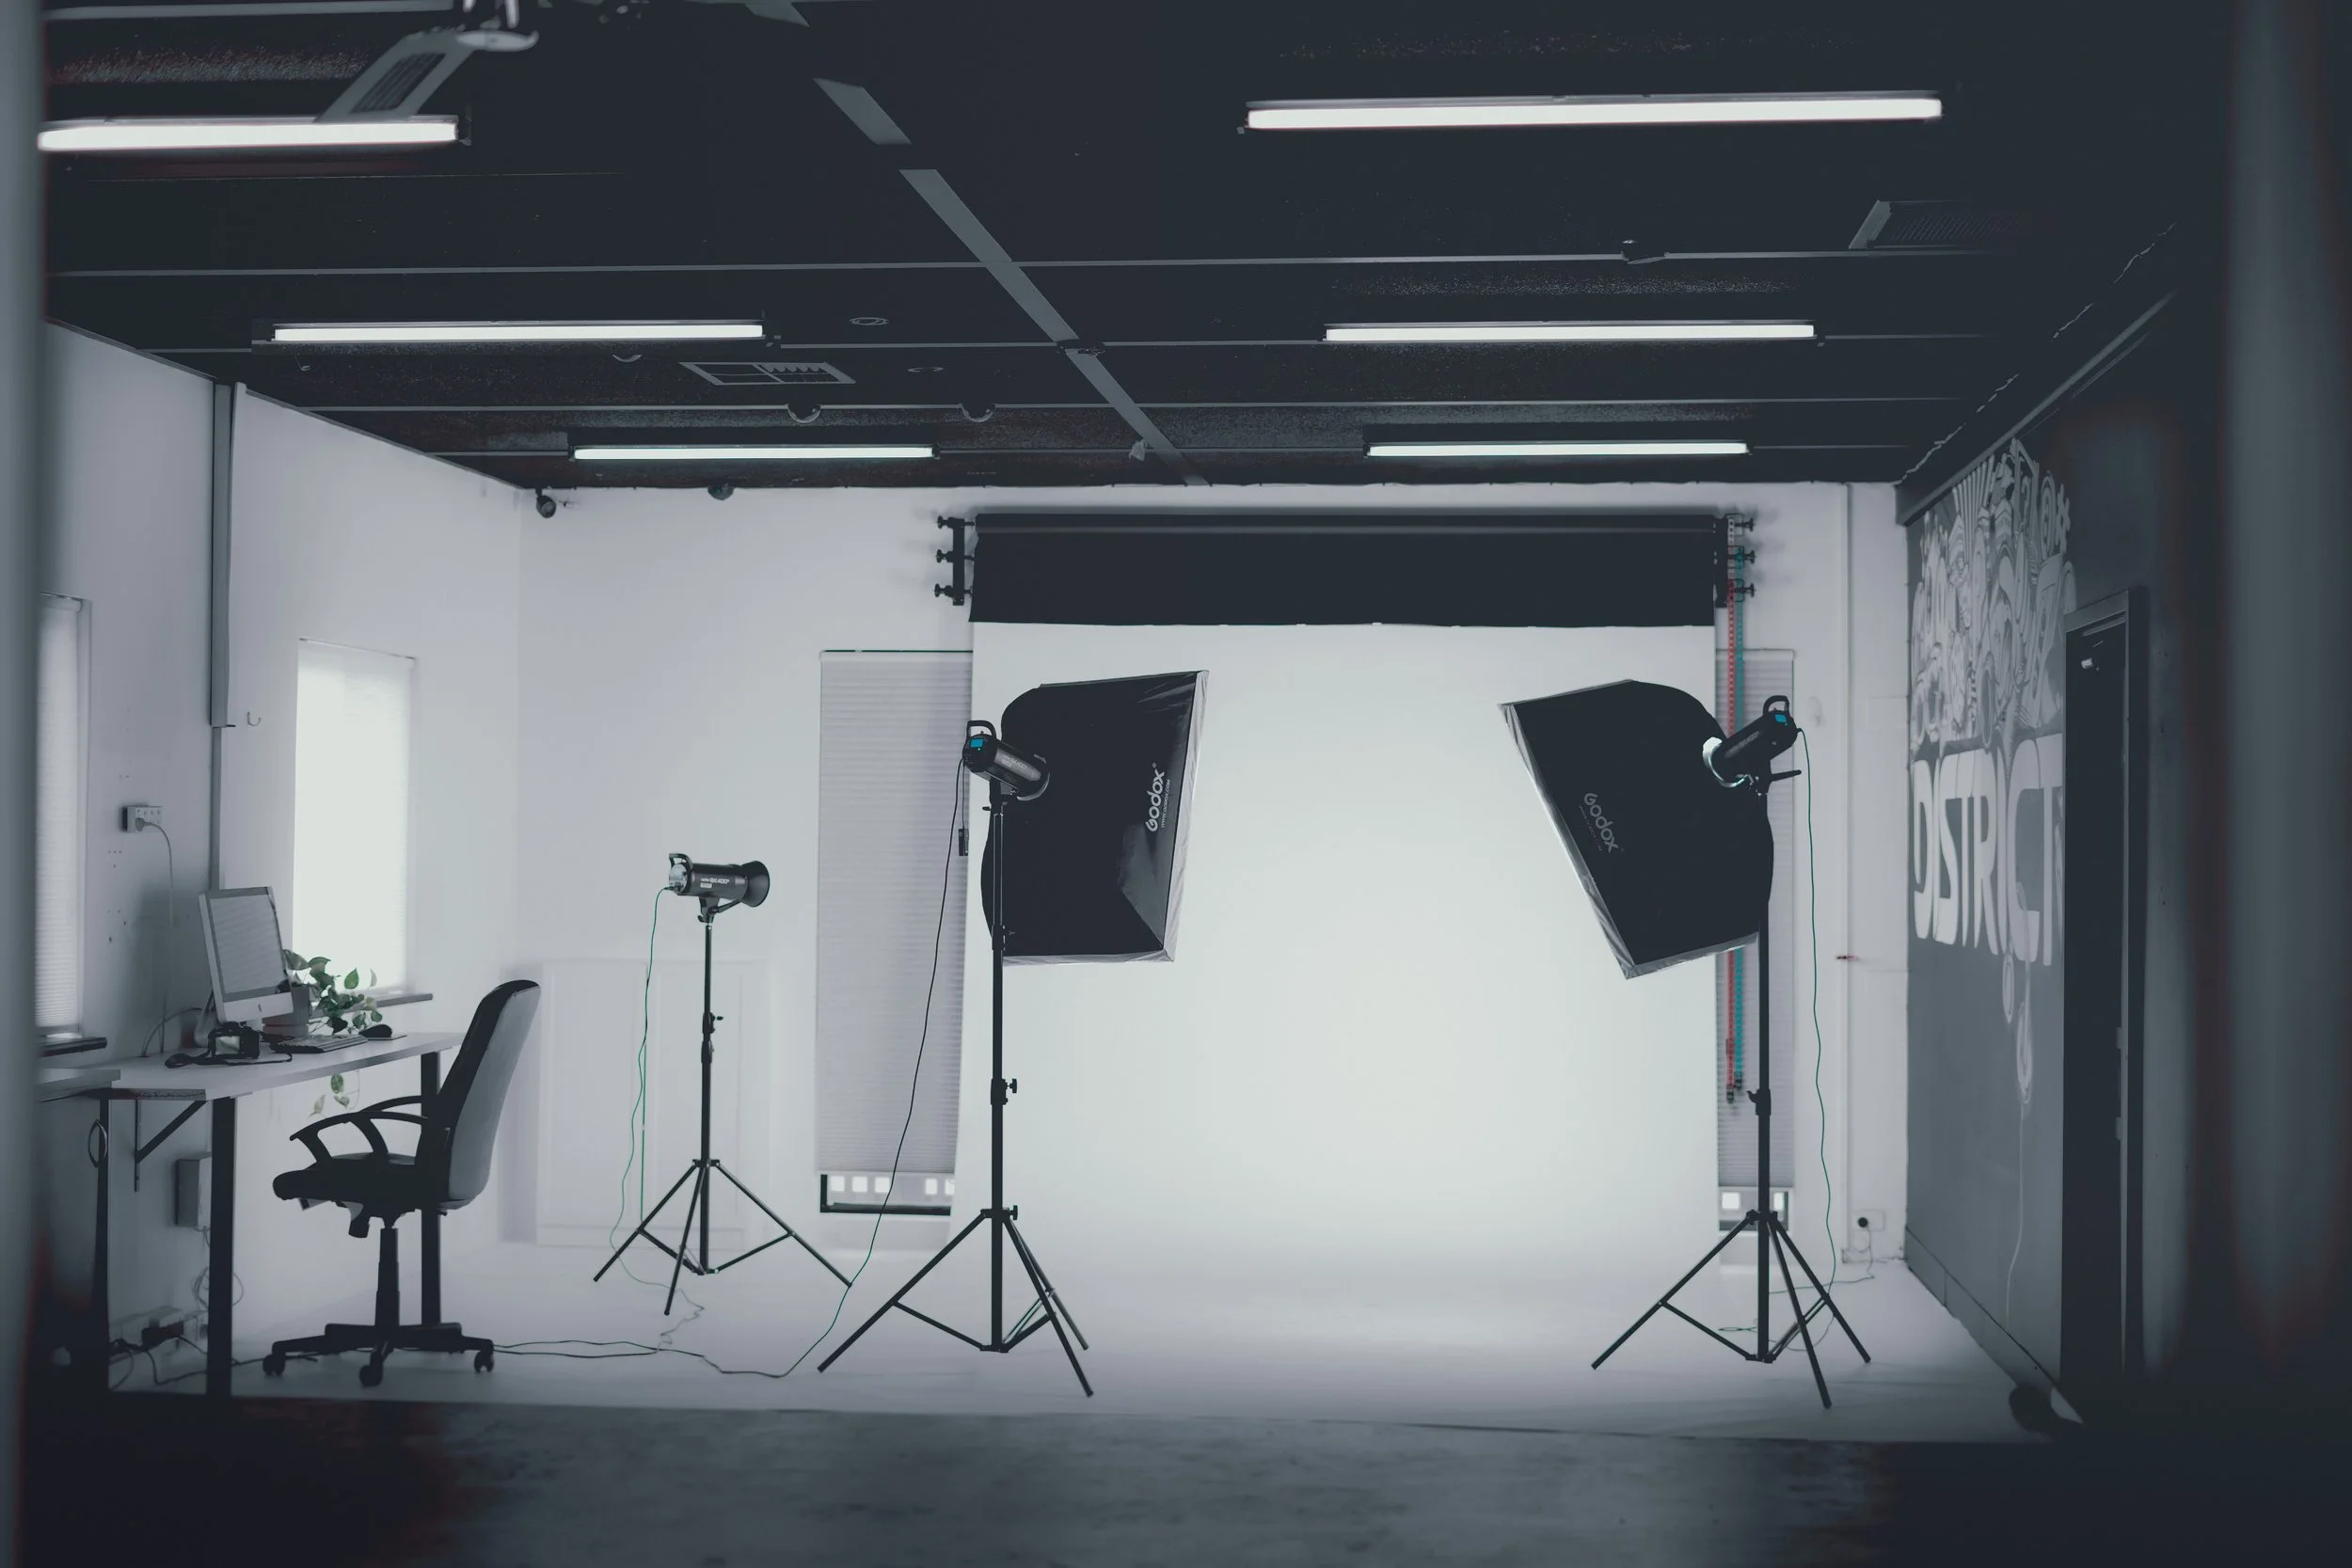
The first set up is a complete strobe package. Check out the Godox MS200-D 3-Monolight Kit. This kit runs for $499. It includes light triggers, softboxes, umbrellas and stands–every part needed to run lighting at a high level. With a fast recycle time and a large power selection, the Godox MS200-D is powerful enough to deliver excellent lighting, both indoors or outdoors. As a bonus this kit includes a carrying case so if you want to adventure out of the studio and run lights on location you’re good to go! If you go with a strobe kit there is a learning curve as you get used to visualizing how your shot will look before the strobes fire. It might seem daunting, but a great skill to develop and ultimately will help further your photography learning.
Pros:
Variable power control
Light temperature control
Good for indoors and outdoors
Cons:
Needs time to recycle between shots
Larger learning curve
CCONTINUOUS
The second set up is a complete continuous lighting package. This package has a special place in my heart as it is where I started my studio journey. The Impact 3-head Fluorescent kit comes with three lights, three softboxes, two 8’ stands, one 9.5’ stand and a boom arm. Like the strobe kit the continuous does offer everything you need for a home studio start, but offers a little more spending flexibility to add in other lights, such as the Godox MS300 Monolight. An advantage to using continuous lighting is being able to see what your photo will look like in camera. I have found that this helps new photographers learn how to use lighting at a workable level quicker.
Pros:
Easy to use
Being able to see the shot in camera
Lower price point
Cons:
No options for color temperature
No power options
BACKDROPS
Now that you’ve picked your lighting kit, it’s time for backdrop/backdrop stands, sandbags, clips and more! I’ve selected some of the best options that B&H carries within an affordable price range. It is worth mentioning there are a lot of ways to DIY your studio assets and even more resources out there to help with set up. Don’t be discouraged if all you can afford at the moment is a lighting setup - you’re well on your way! Without further adieu, here are my picks to button up this studio!
For a backdrop and stand I’d recommend the Savage Background Port-A-Stand kit. At $150 it’s a great deal all around. You get one of their stellar backdrops with the stands. The stands are meant to accommodate 9’ rolls and cloth backdrops. When it comes to paper backdrops Savage is always my go to. The stands themselves are on the lighter side, so I would strongly recommend getting a few of these saddle sandbags for a stable base.
Alternatively, at $189 you could get the Photeck Background Support System. This set does not include a backdrop, but it does allow for you to adjust the length of the cross beam. If you are working in a smaller space this is a huge advantage.
Savage Universal has a large selection of backdrops to choose from. The pricing does range a fair bit, but it is possible to find one within the budget. The trade off is up to preference. If space is an issue the Photeck is a great option. If you’re looking for a deal, go with the Savage.
Miscellaneous
Miscellaneous items that are great to have around the studio! To make this section flow smoothly I’ll be swapping to a list format. These items are what I personally keep in my studio; every photographer has different needs so this may be a great starting point or you can blaze your own trail!
Spring clips - Extremely helpful for backdrop management
Reflectors - Always a great tool to add some extra pop
Poster Board/Craft Paper - A great way to add some pops of color or make a small backdrop if you need a color change
Acrylic Table - Excellent for creating seamless product photos.
Ready To Shoot!
I hope this article has set you up to start world-building and storytelling in your own way. Regardless of what you want to create in your studio, there are options to reach those goals that are often more affordable than you think. Enjoy the ride.